 Free CAD before you commit
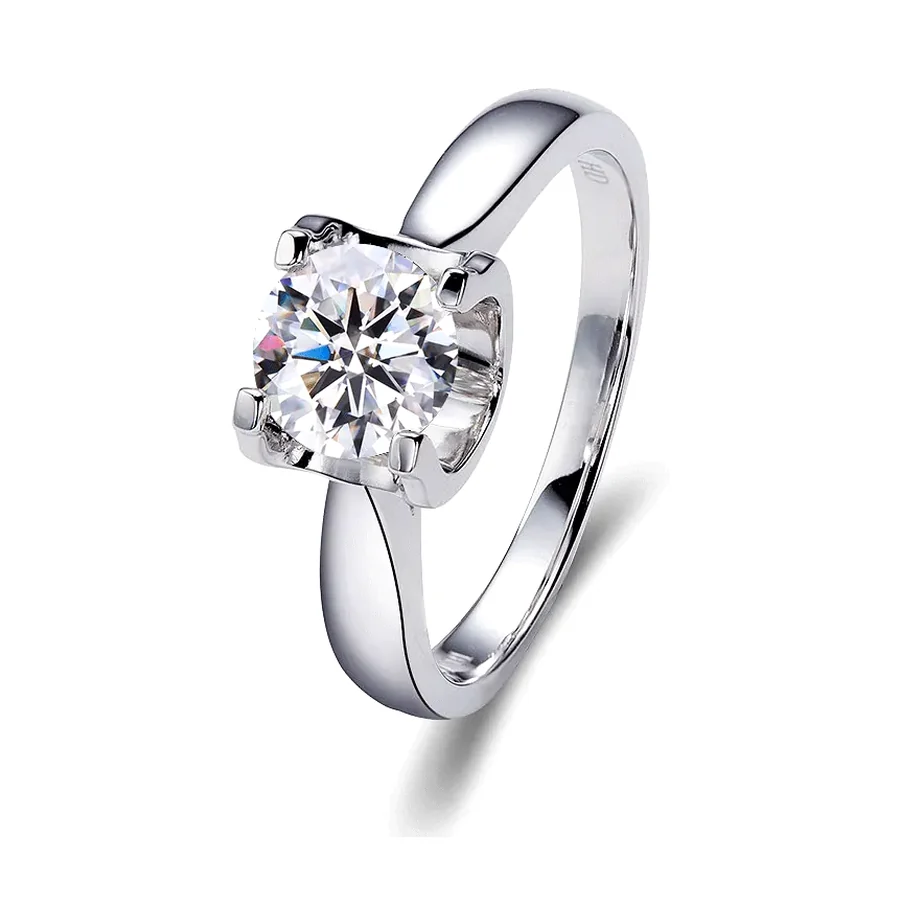 222 engagement designs
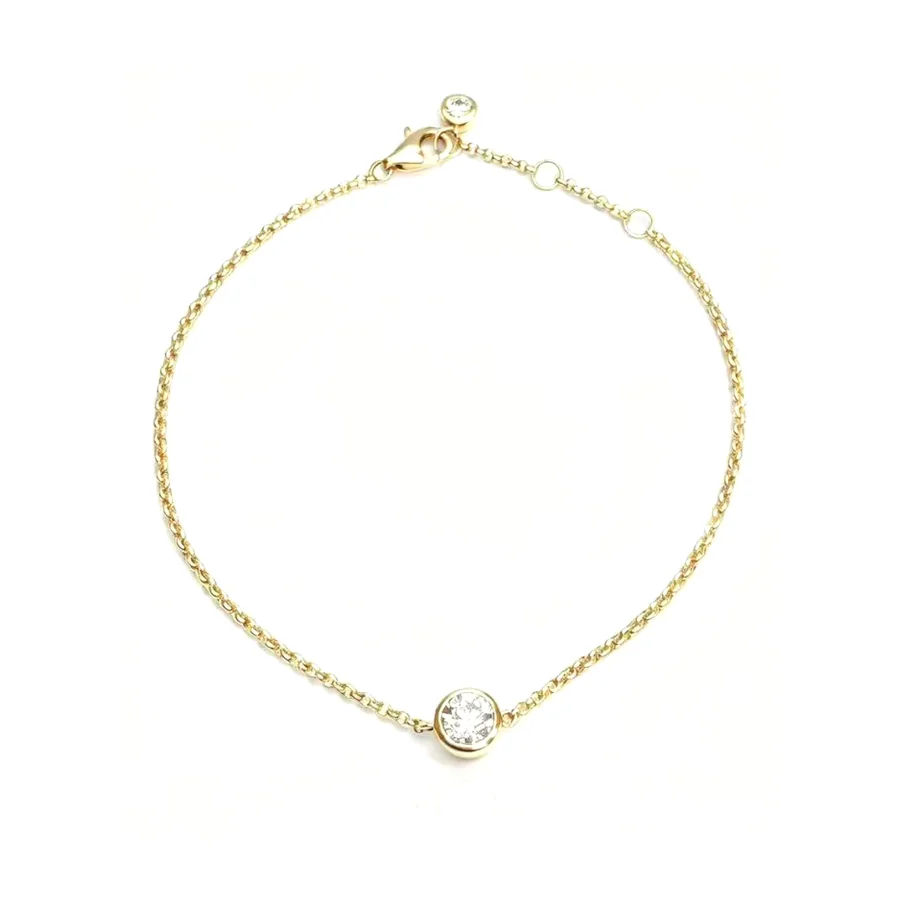 269 necklaces & pendants
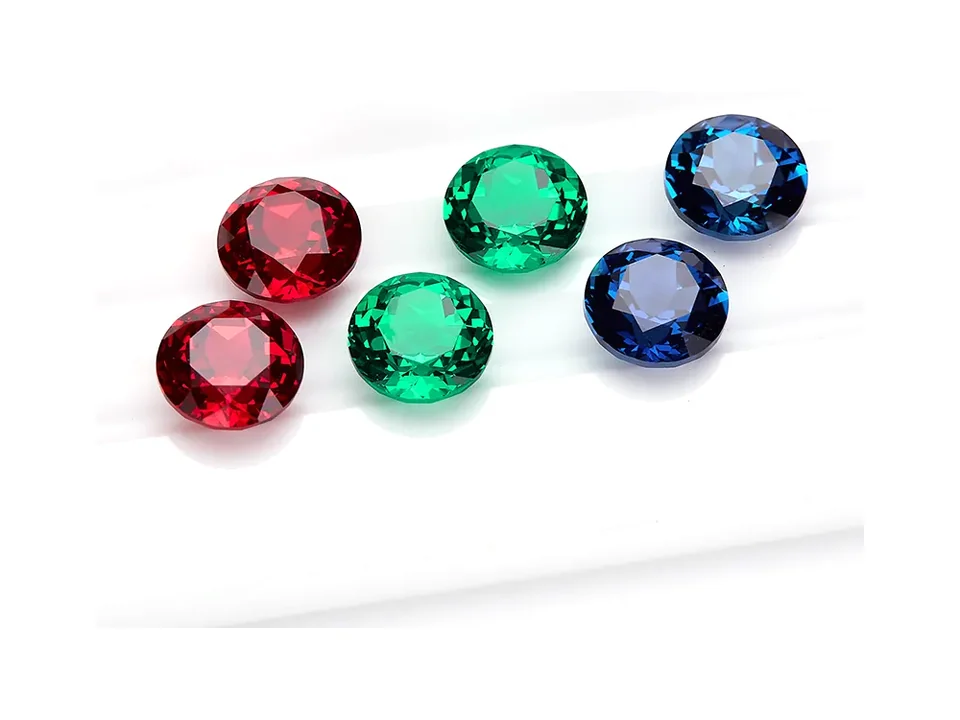 Matched pairs from stock
 18 years under one roof
Guide · Design
How to Design a Custom Engagement Ring
A practical sequence, from stone to wax, with the decisions that are expensive to change later.
Updated November 2026 · Holycome Custom Jewelry
Most custom ring projects go wrong in the same place: the stone is chosen by photograph and the mounting is chosen by name. "A halo with a 1.5 carat oval" is not a design — it is a mood. This guide replaces that with a sequence where every decision is measurable.
1. Start with the stone’s millimeters, not its carat
Carat is weight; size is what you see. A 1 ct round is about 6.5 mm across. A 1 ct oval is about 7.7 × 5.7 mm and looks noticeably larger on the hand. If you already own a stone, measure it with calipers or ask a jeweller for its dimensions — those two numbers, length and width, define the entire head.
For a first ring, 6.5–7.5 mm is the sweet spot: visible without looking like a costume piece, and structurally easy to set securely.
2. Choose the head by how much of the stone you want to see
- Four prong: most visible stone, slightly less secure, best for rounds under 8 mm.
- Six prong: more metal, more security, reads slightly smaller. The safe default.
- Bezel: metal all around the girdle. Lowest profile, most protective, hides the edge — which some people love and some do not.
- Halo: a ring of small stones around the center. It must sit below the center stone’s table; otherwise the ring looks flat in profile.
3. Set the shank width before you fall in love with a design
1.5 mm is fragile. 2.0–2.2 mm is the practical minimum for daily wear. 2.5 mm and up is substantial. The shank is most of the metal weight, so this decision moves the price more than the setting does. Ask for the quote both ways.
4. Decide the profile — the view you will actually see
The face of the ring is what photographs well; the profile is what you look at forty times a day. A high head catches on sleeves and car doors. A low head is quieter and more wearable. Ask for a profile view in the CAD before you approve anything; if a designer cannot show it, that is a warning sign.
5. Approve the CAD, then the wax
The CAD render should be dimensioned in millimeters and shown in three views. Look at three things: the thickness of the metal under the center stone, the height of the head above the finger, and the width at the base of the shank. If any of them feels wrong in the drawing, it will feel worse on the hand.
The wax model is the last chance to change width and height. Wear it for an hour. Then stop changing things — after the wax, every edit is a new casting.
6. Choose the metal last
Metal choice is mostly about color and maintenance, not durability. 14K white gold and PT950 both wear well; white gold needs re-plating every 12–24 months, platinum develops a patina and is heavier. 18K is softer and richer in color. Sterling is the budget option and will tarnish.
7. Ask what happens if it is wrong
Before you pay a deposit, ask: what happens if the ring arrives and the stone is set crooked, or the size is wrong, or the width looks different from the render? A workshop that makes its own pieces should answer without hesitation — remake, resize, or refund. Get the answer in writing.
A checklist to send with your brief
- Stone: type, shape, millimeters (or carat), certificate if any
- Ring size, and whether the wearer’s knuckle is wider than the base
- Two or three reference images, with a note on what you like in each
- Metal preference and whether re-plating is acceptable
- Deadline, if there is one, and whether it is flexible
- Budget range — so the metal weight can be proposed realistically